Custom fabric labels are amazing, they’re like the cherry on an amazing crafting cake, whether that cake is a garment, a bag, a quilt, or something else entirely. It can seem intimidating getting started if you haven’t added a label to your creations before. You might also ask yourself how exactly you can make your own labels and what are your options for making your own labels.
Whether you're trying to make something more specific like jeans labels, or more general items such as name labels: here are five of the most popular methods for creating your very own custom clothing and fabric labels.
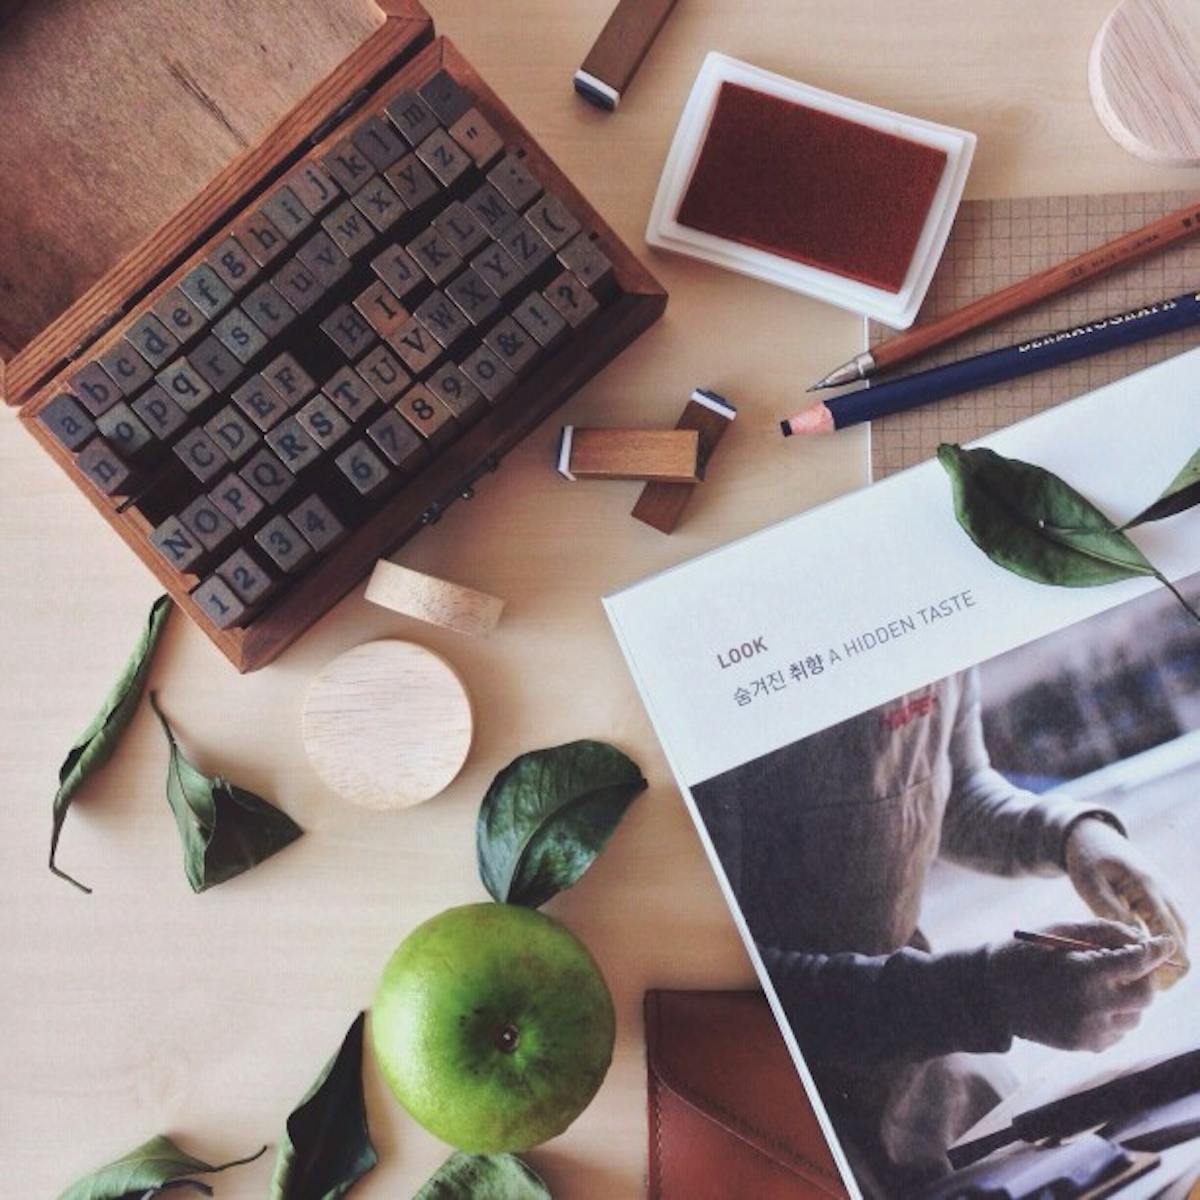
DIY Stamped Labels
Stamping can be one of the easiest and quickest ways to create your own custom labels. You will need stamps plus an ink that is designed for fabric.
Supplies
- Ink (be sure that it indicates it is designed for fabric)
- Stamps
- Fabric or ribbon (twill tape is a great option!)
Directions
- Apply ink to stamp
- Apply stamp to fabric
- Iron fabric before washing to make sure ink sets
That’s it! We told you this way is easy. The trade-off for the ease though is that the ink is more likely to fade over time and that it is less customizable than other options since fonts and designs will be limited to the stamp sets available to you.
DIY Home Embroidered Labels
If your label is going to be simple and basically just text, a label you sew on yourself can be a great option, whether you hand sew it or use a sewing machine.
Supplies
- Sewing machine, embroidery machine, or needle and thread
- Fabric or ribbon (twill paper is a great option here, too!)
- Rotary cutter or scissors
Directions
- Pick the fabric you want to use for sewing your label
- Either hand sew a message with a needle and thread, or use the fonts and designs on your sewing machine or embroidery machine to apply your message or design.
- Cut your fabric or material after adding your message or design to your fabric into the label shape of choice, making sure to finish the edges so they don't fray.
And voila! You now have your very own custom sewn label. They’re a great way to affordably create a label for your items. However, your design is limited to what you can sew on yourself, making this a very limited option design-wise.
DIY Printed Labels
Making your own printed labels using fabric sheets is a great option that adds a little more sophistication to your projects and create beautiful custom designed labels.
Supplies
- Printer
- Fabric sheets (make sure they’re designed for your printer type, either inkjet or laser)
- Cold water
- Scissors or rotary cutter
- Iron
Directions
- Create a design or logo that you would like to use for your labels on your computer using the software or program of your choice. (Great options include Adobe Illustrator or Canva). Make sure to leave blank space around your design to serve as a seam allowance on the labels so you can sew them into your projects. We recommend printing a test version of your design on regular printer paper, to make sure the size, layout, and look are what you want before committing to your fabric printing sheets. You may also want to use the test printing phase to confirm what side of the paper the printer will be printing on. An easy way to do this is to add an ‘x’ to one side of the paper before printing; this way you’ll know how to load your fabric printing sheet into the printer.
- Print your designs using the fabric printing sheet, making sure that the fabric printing sheet is loaded in a way that your design will be printed on the fabric side of the printing sheet.
- Let the printed fabric sheet sit and dry. We recommend at least 10-15 minutes, and you can leave it to dry longer, too.
- (At this point, you should check the instructions that came with your fabric printing sheets. These are the standard instructions, but there may be variations depending on the manufacturer.) Once the ink has set, remove the backing from your fabric sheet. Using a hot iron, apply gentle pressure to the fabric on the printed side to dry the ink and have it set. You should do this for about 1-2 minutes. Be careful not to apply too much pressure to avoid distorting your design.
- Rinse the fabric sheets in cool water and pat dry with a towel. Iron the fabric dry once more, still applying gentle pressure. This helps color guard your fabric and avoid fading from washing.
- Cut your fabric into individual labels. If you have a rotary cutter, mat, and ruler, we recommend cutting this this way to ensure accuracy, precision, and clean lines. If you only have fabric scissors, this will still do the trick. Be sure when cutting that you remember to leave the blank space around the design so you will have a sewing allowance when attaching your label.
And now you have printed labels that are ready to attach to your project! This is a great DIY method, but it can get pricey with the cost of printer ink and fabric printing sheets. There can also be a good amount of trial and error as you work through sizes, designs, and treating the labels after printing.
DIY Iron-On Transfer Paper Labels
Iron-on transfer is very similar to the printing label method above, except you are no longer limited by the fabric printer paper available. An iron-on transfer allows you to add your design to the fabric or material of your choice.
Supplies
- Printer
- Iron-on transfer paper
- Fabric, ribbon, or other label material
- Iron
- Scissors or rotary cutter
- Iron-on interfacing (optional)
Directions
Some of this might feel a little like deja vu if you just went through our Printed Label DIY instructions. Be warned, you’re not experiencing deja vu, just a little overlap in directions. If you jumped right to this project, and have no sense of deja vu: welcome!
- Create a design or logo that you want to use on your labels using the design software or program of your choice (Adobe Illustrator and Canva are great!). Test print your design on a sheet of standard printer paper first, to make sure the design and sizing are what you intended. If you have a piece of fabric or ribbon you know you want to add your label to, make sure that the design will fit the size of the label material, with some room left over for sewing allowance. Also, put an x on one side of the paper when you do your test printing, too, so you can be sure that you load the transfer paper in correctly.
- Print your designs on your iron-on transfer paper. Be sure to print your design on the white coated side of the transfer paper.
- Once your iron-on transfers are complete, get ready to apply your designs to the material of your choice. Be sure to check the instructions that come with your iron-on transfer paper to confirm heat setting and ironing instructions and ensure they don’t deviate from the instructions provided.
- Preheat your iron to the cotton/linen setting. When ironing your design onto the material of choice, make sure that you have the design-side facing down onto the material. Firmly place the iron on top of your design, and hold in place for 20 second intervals. Repeat this until you have set the entire image. You will want to wait at least 2-3 minutes before peeling off the backing in a smooth and even motion. You can also keep the backing on until you’re ready to use your labels if you want to protect your design.
DIY Iron-On Transfer Label Tips
Here are some tips for applying the iron-on transfer to different materials
- When cutting your labels, it’s ideal to use a rotary cutter, mat, and ruler. If these are unavailable, scissors work as well. When cutting, make sure you’re leaving enough room on the material for a sewing allowance
- For fabric, make sure to iron the fabric before applying your iron-on transfer to avoid wrinkles and make sure that the design transfers smoothly.
- If you have a large swatch of fabric that’s about the size of your iron-on transfer sheet, you can apply the entire sheet and then cut the labels instead of cutting the iron-on transfer before applying
- If you’re worried about your fabric fraying, you can back your fabric using iron-on interfacing
- If using a small-sized material, such as ribbon, use tweezers and straight pins to line up and hold your heat transfer in place and to avoid burning yourself while applying the iron-on transfer
And now you have your very own branded labels! Iron-on transfers are great for allowing for a variety of materials that you can use for your labels. Iron-on transfers will eventually fade with time, however. And the cost of printing them may be higher due to the cost of printer ink and iron-on transfer sheets.
Custom Ordered Labels
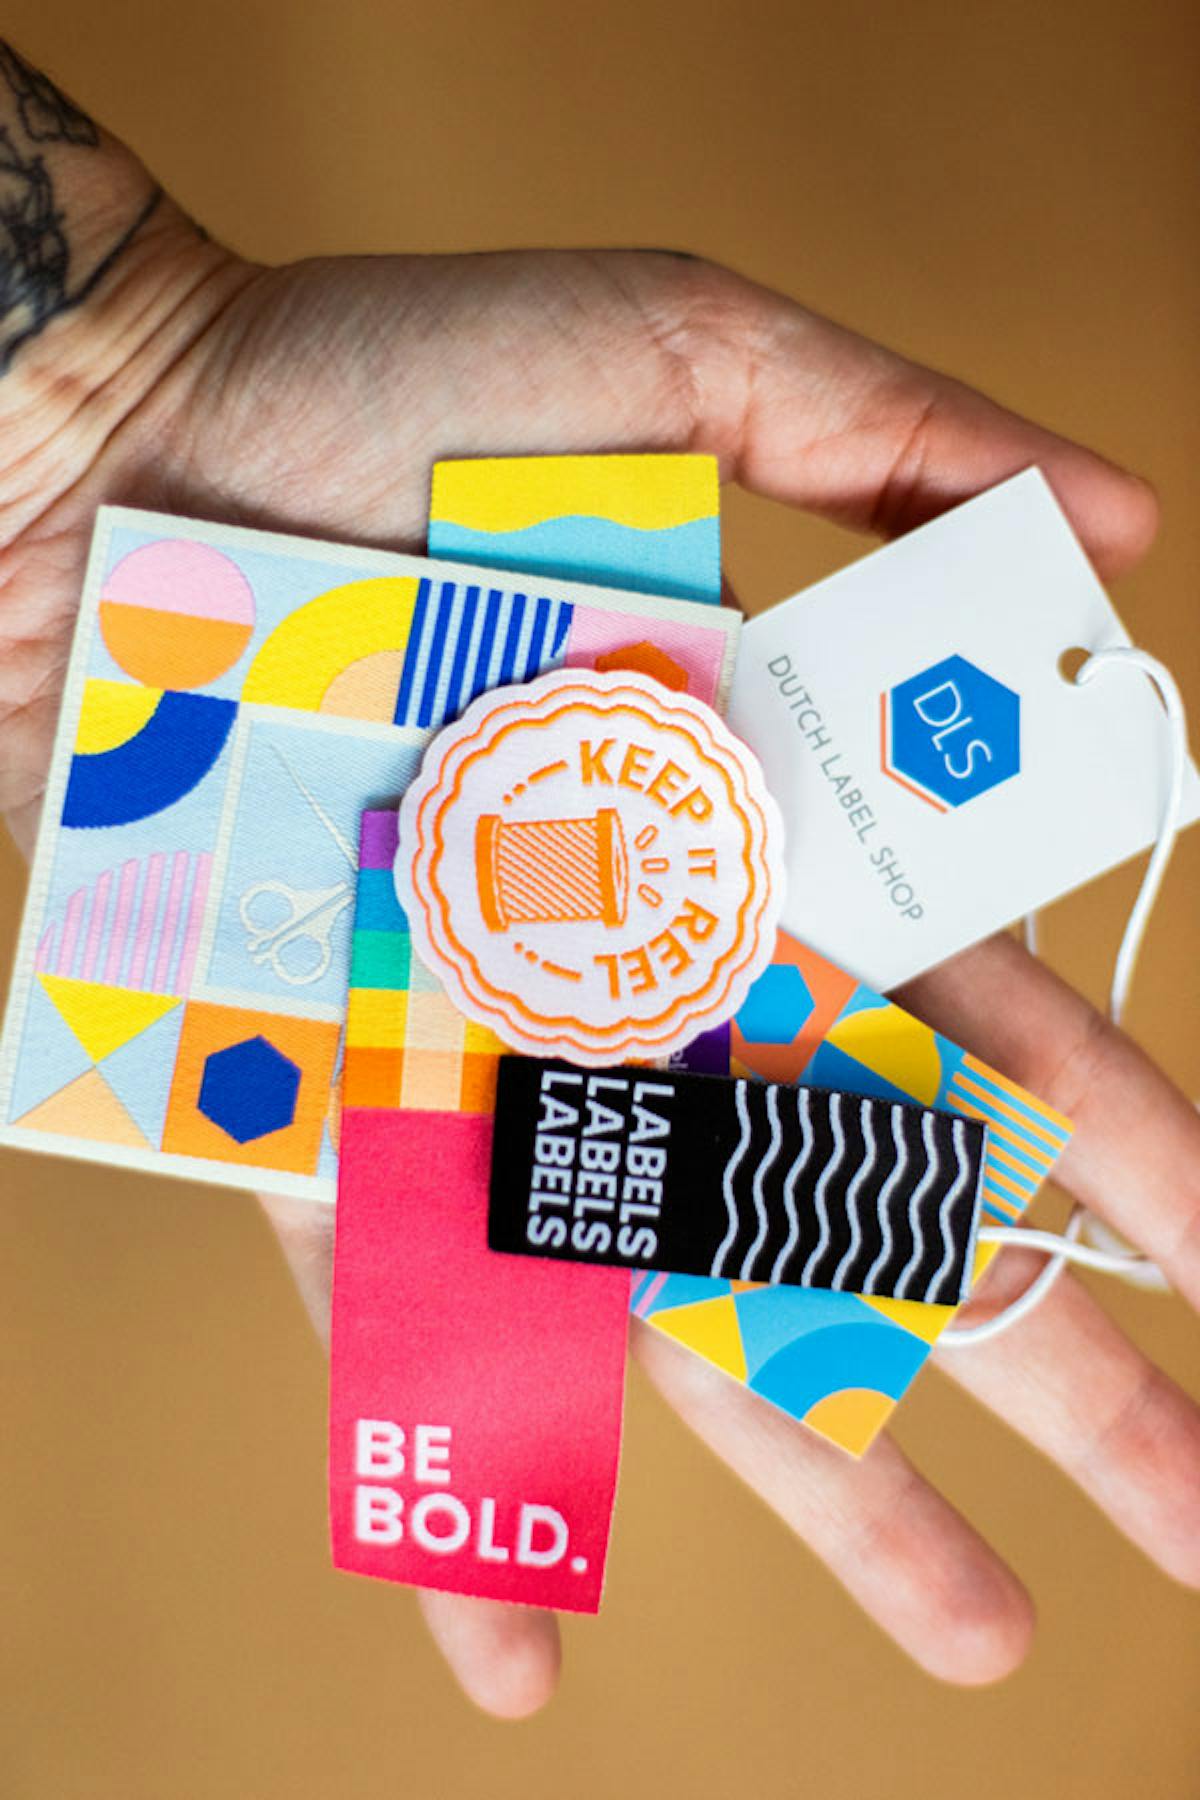
One of our favorite options, with no bias, obviously, is custom ordering your custom woven labels from companies like Dutch Label Shop. Whether you already have a design created or are in the process of creating a design for your labels, we have uploader tools and designer tools to get the right design on the right labels.
Supplies
- computer or tablet
Directions
- Pre-design your logo beforehand or create a logo using a logo design tool (if available)
- Choose the label size and type you want
- Place your order
- Open your order when it arrives
With Dutch Label Shop, you can get your labels as either woven sew-in labels, woven iron-on labels, or printed labels. Dutch Label Shop also offers the option to either upload a pre-existing logo or design one using our easy and intuitive online label design tool. There are a variety of design and font offerings available; basically, any design you can imagine can be turned into a label. Surprisingly enough, ordering your labels can also be more cost-effective than creating your own printed labels or iron-on transfer labels.
If you're curious about the quality and application of custom-ordered labels, we offer a sample pack with a variety of different label options.
One downside of custom-ordered labels is that, unlike the DIY labels you’re creating yourself, you will have to wait for your order to be processed and delivered.
Whatever option appeals to you, there is probably a way for you to create the right label that is right for your products. And if you have any questions, let us know!


