How kawaii are these fabric origami cranes?! Once you learn the basics you can apply the steps to different types of fabrics and paper! You can turn them into ornaments or string them together to make a garland. The possibilities are endless! Keep reading to learn step by step how to make your own origami fabric crane!
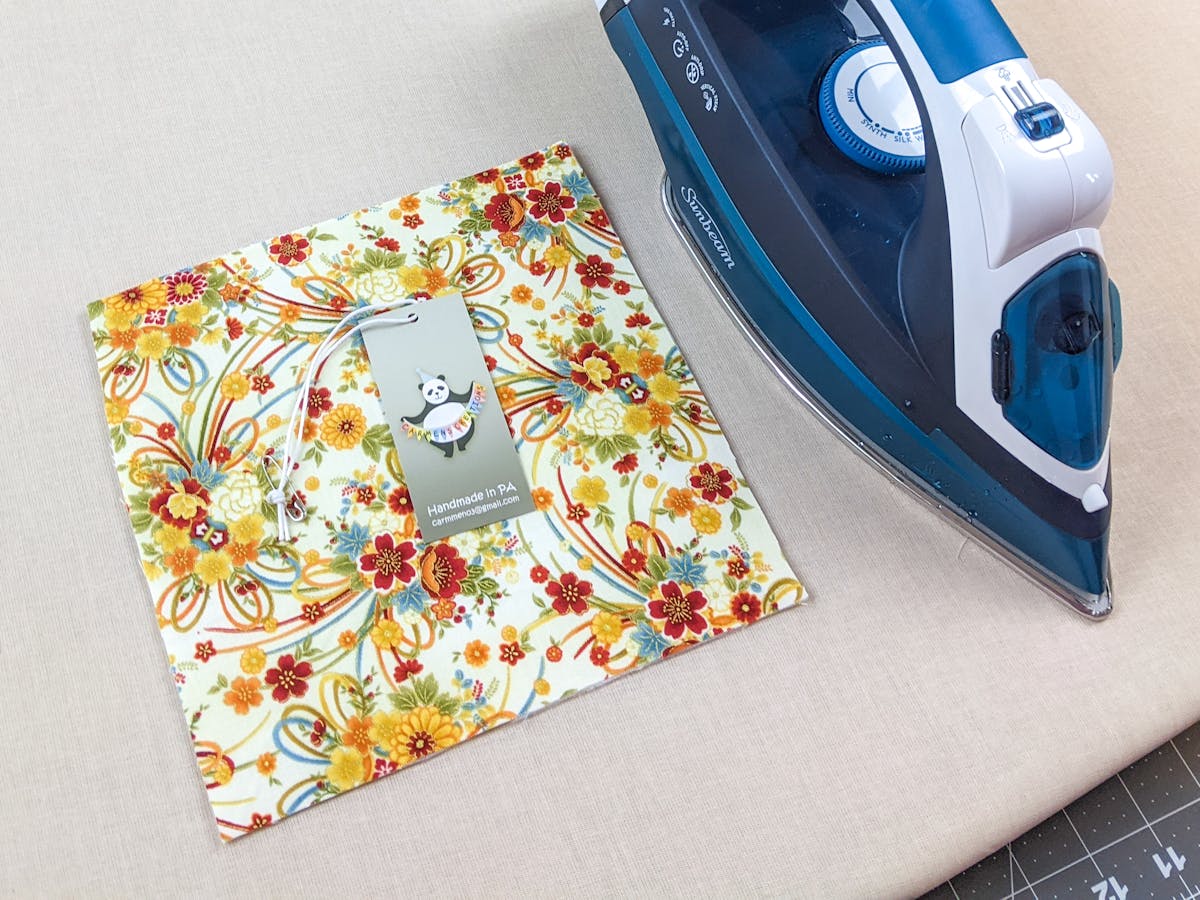
First thing first: gather your supplies.
DIY fabric crane Supplies:
- Fabric of your choice [I’m using 100% cotton]
- Fusible fleece interfacing
- Iron
- Custom DLS hang tag
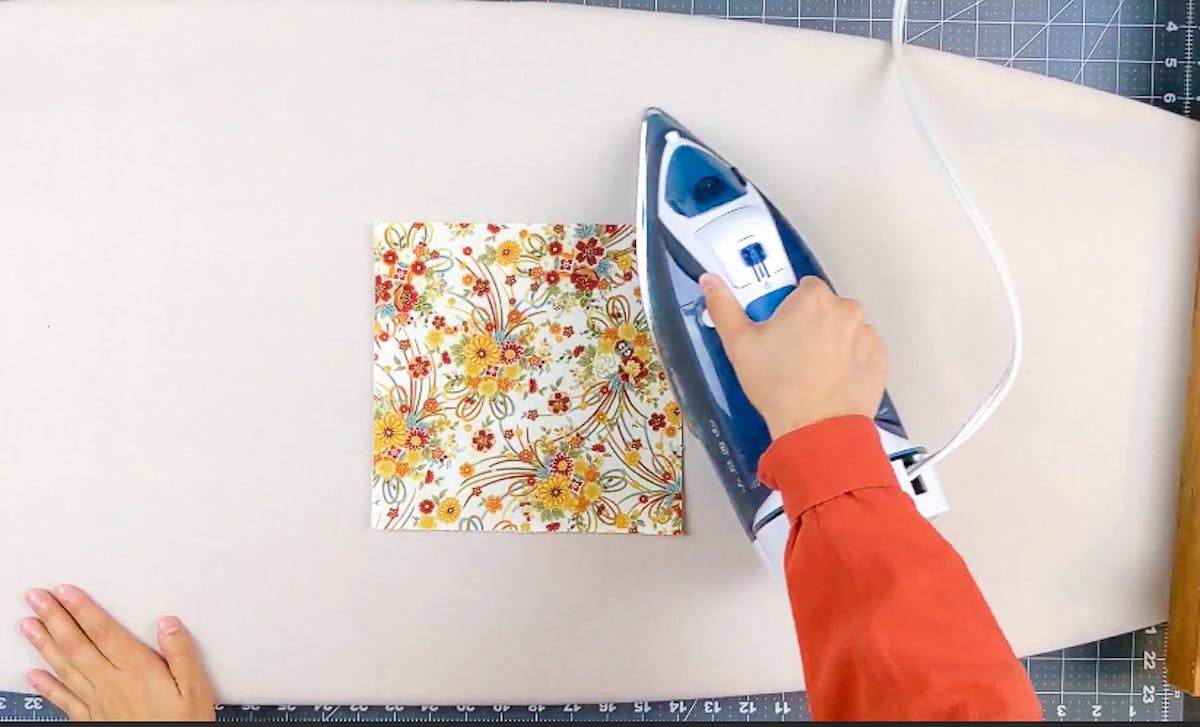
Step 1
Start with a square piece of fabric and iron the fusible interfacing to the back for added support. I’m using a 10x10” piece of fabric. Remember to press with an iron after each step!
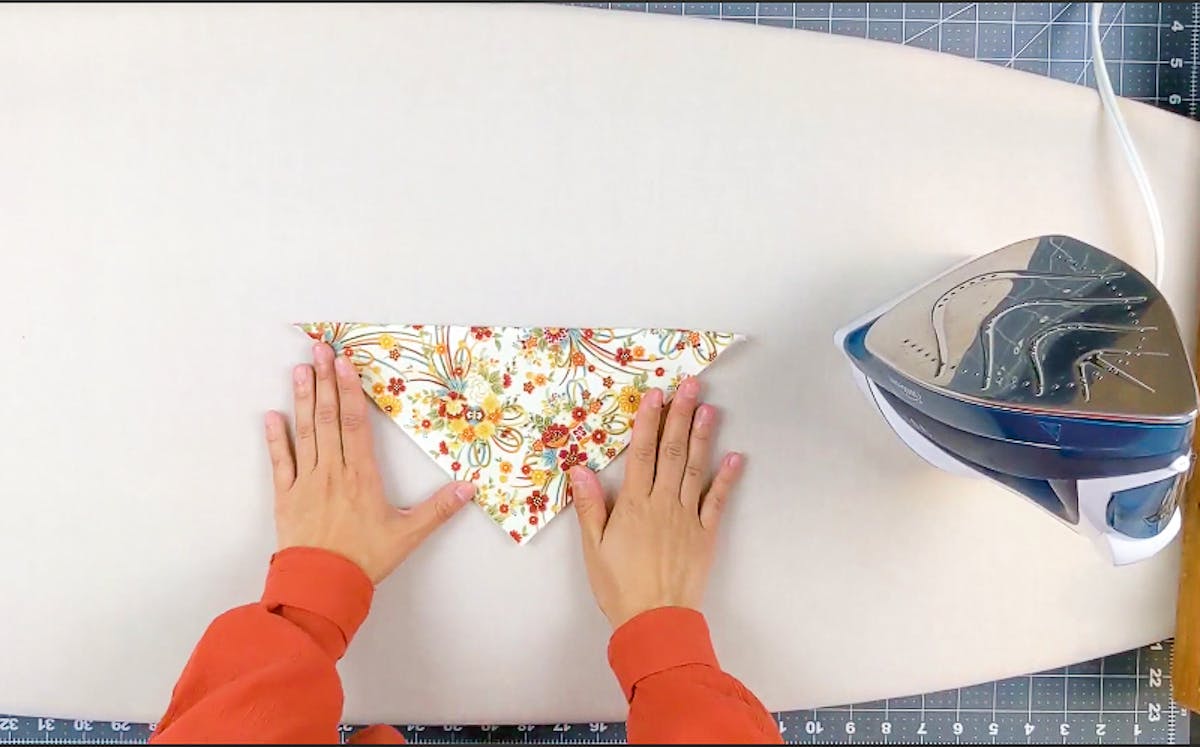
Step 2
Fold the fabric in half diagonally by taking the top corner and folding it to the bottom corner to create a triangle. Press with the iron to make a crease from the left corner tip to the right.

Step 3
Fold the triangle in half by taking the left corner and folding it to the right to create a smaller triangle.

Step 4
Make a squash fold by taking the top point and folding it to the bottom point while pressing the right and left sides down to create a diamond.

Step 5
Flip over and do the same squash fold on the other side to create a diamond shape.

Step 6
Starting from the bottom point of the diamond, pull the one layer up and push the left and right edges inwards towards the center line and press flat.

Step 7
Repeat Step 6 on the other side.

Step 8
Fold the lower right and left edge to the center line and press.

Step 9
Repeat Step 8 on the other side.

Step 10
Fold the lower right flap up and out to the right. Do the same with the left side (tail). Create a head by flattening the flap, and inside reverse folding a little section down at the top. Complete your crane by pulling the wings out.

If you're looking to add a great addition to your newly created folded origami ornament, a hang tag is a great way to present your ornament as a gift, or if you want to have a special message come with your folded origami ornament!
And that's it! Congratulations! You just made your own origami fabric crane! :) We also have a step-by-step DIY fabric origami crane ornament video guide, if you want to follow along.
Let us know what you think and share your photos of your own DIY drawstring bag with us on Instagram, Facebook, or Twitter.
