French seams just sound intimidating. Put French in front of anything, and it sounds sophisticated, yes, but also complicated. French cooking for example. The idea of cooking an egg casserole is not intimidating to me, but call it a quiche and all of a sudden I am paralyzed. The same goes for sewing. When I first began to sew, my mother tried to teach me how to sew a french seam, but I didn’t even try to find out what French seams were before I decided I did not want to learn because I assumed they would be to difficult to sew.
Turns out, they are actually very simple, which I learned very quickly when my mother told me I could not be a true crafter if I couldn’t sew a French seam.

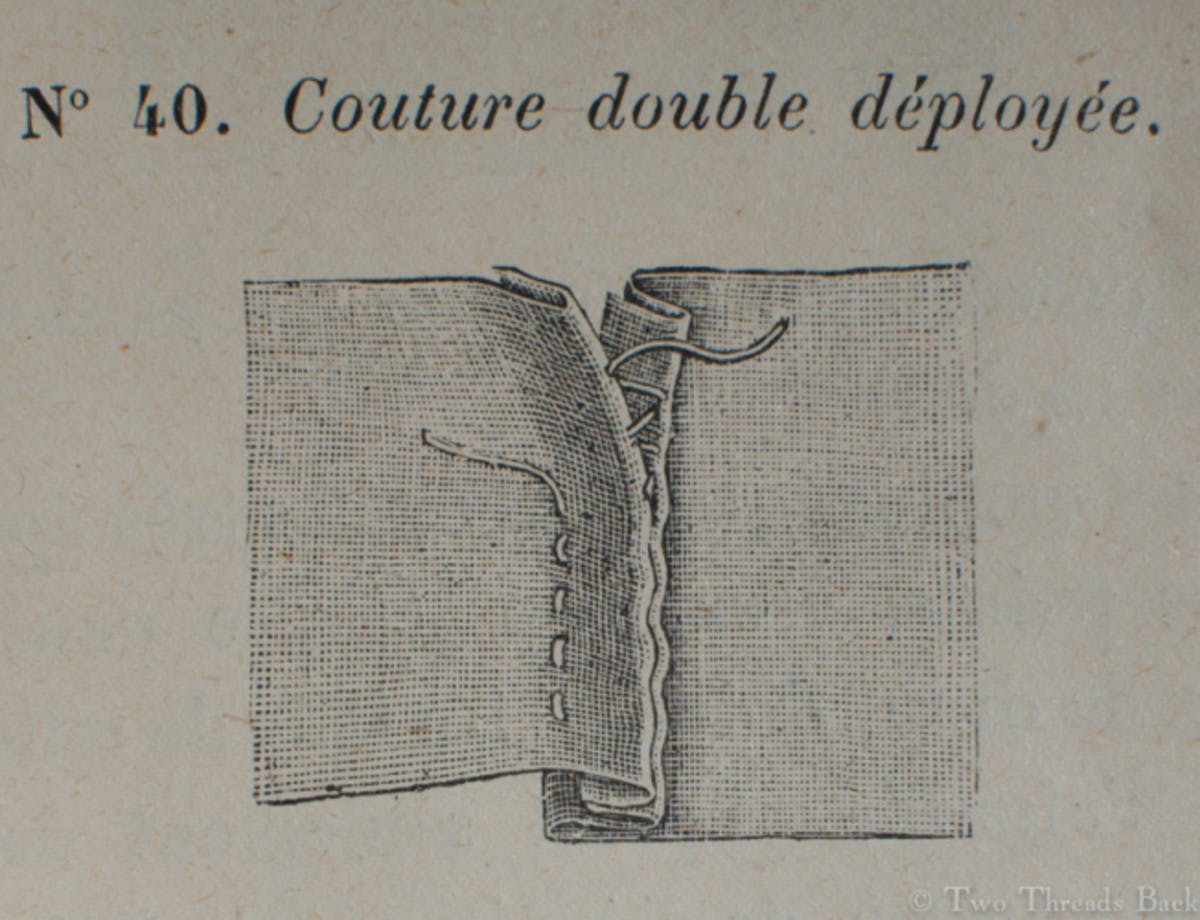
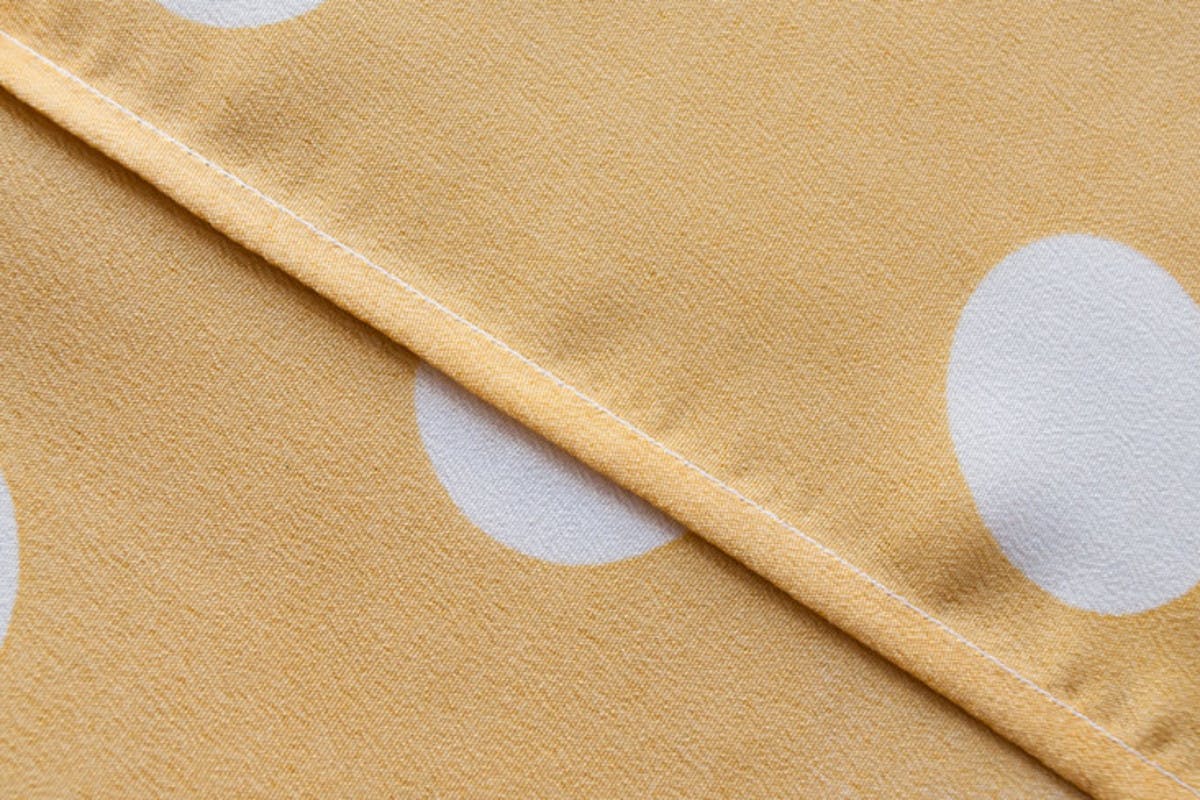
A French seam is just a seam with the raw edges of the fabric enclosed. Simple! And French seams are everywhere. Check any article of clothing that you are currently wearing, and you will probably discover a French seam.
Part of losing your fear of French seams is knowing what they are — you know that old saying, that knowledge is power? Well it rings true in this case.

Now that you know what a French seam is, you can probably figure out the next step by yourself, but just in case, here’s a breakdown:
You will need:
- Straight pins
- Fabric
- Scissors
- Sewing Machine & Thread
- Iron and ironing board
- If desired a custom woven label for the finishing touch
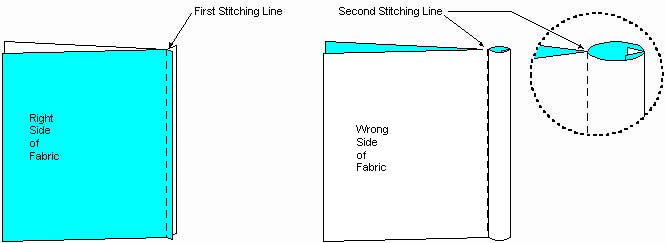
The trick with French seams is to always iron after every step. This may be tedious, but the end result will be well worth it. Unlike a regular seam, the raw edges of the fabric are enclosed in a French seam, so you must first sew the fabric together with the patterned sides facing out. After this first step, trim the edges to about ¼ inch, fold the patterned sides to face in, iron and sew again, enclosing the raw seams. Fold out fully and iron again. For a step by step tutorial with pictures, check out this nifty tutorial.
Voila!
