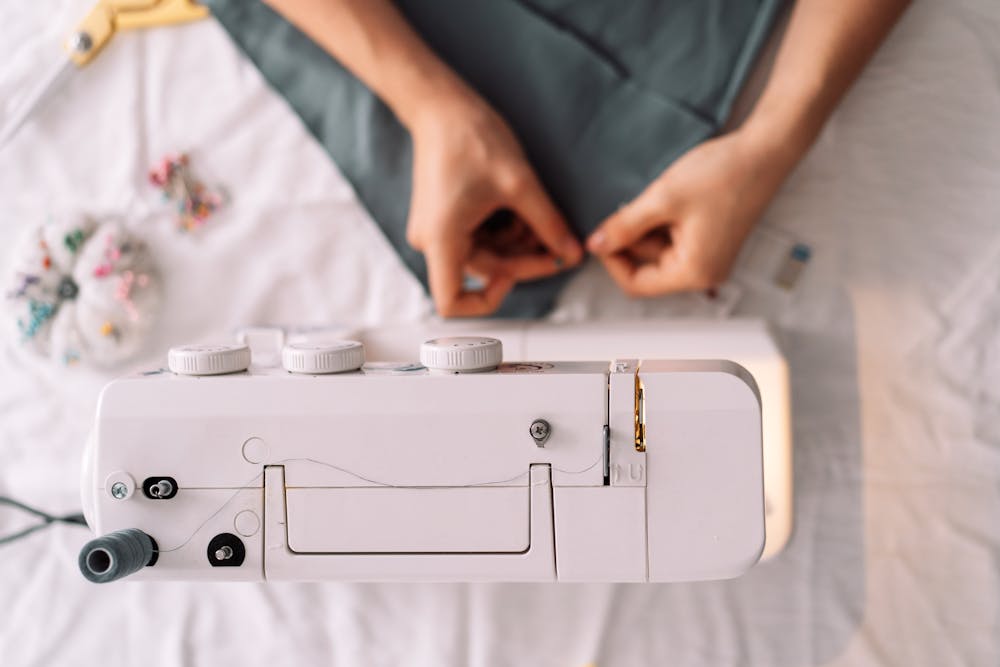
Keeping your sewing machine clean is essential for maintaining its optimal performance and preventing any potential issues. A clean sewing machine ensures smooth and accurate stitching and extends the lifespan of the machine itself. In this guide, we will delve into the significance of maintaining your sewing machine by identifying the various components that require cleaning, discussing the essential cleaning supplies, and providing you with valuable tips on maintaining its optimal condition.
Understanding the Importance of a Clean Sewing Machine
When it comes to sewing, a clean machine is crucial. Over time, dust, lint, and other debris can accumulate in various parts of your sewing machine, affecting its performance. The presence of dirt and dust in your machine can cause several problems, including skipped stitches, thread breakage, and even damage to the delicate components of your machine.
Imagine this: you've spent hours meticulously designing and cutting fabric for a beautiful quilt. You sit down at your sewing machine, excited to bring your creation to life, only to be met with frustration and disappointment. The stitches are uneven, the thread keeps breaking, and you can't seem to get the tension right. What could be causing this? The answer may lie in the cleanliness of your sewing machine.
The Impact of Dirt and Dust on Your Machine's Performance
Dirt and dust can clog the moving parts of your sewing machine, such as the needle bar and presser foot lifter, leading to decreased functionality and subpar stitch quality. These tiny particles may seem harmless, but they can wreak havoc on your sewing projects. As you sew, the needle moves up and down, piercing through the fabric. If there is dirt or dust in its path, it can cause the needle to get stuck or skip stitches, resulting in an imperfect final product.
Furthermore, the accumulation of lint in the bobbin area can interfere with the smooth rotation of the bobbin, resulting in uneven tension and improperly formed stitches. Lint is the tiny fibers that shed from the fabric as you sew. It may not seem like much, but over time, it can build up and cause serious issues. Just like any well-oiled machine, a clean sewing machine operates smoothly and efficiently.
How Regular Cleaning Extends the Life of Your Sewing Machine
Regularly cleaning your sewing machine improves its performance and prolongs its lifespan. Removing lint, dust, and debris prevents these particles from building up over time and causing mechanical issues. It's like giving your machine a breath of fresh air, allowing it to function at its best.
Think of your sewing machine as a car. You wouldn't neglect to change the oil or clean the filters, would you? The same principle applies to your sewing machine. By taking the time to clean it regularly, you are ensuring that it continues to run smoothly and efficiently. You are also preventing potential damage that could lead to costly repairs or even the need for a new machine.
So, how often should you clean your sewing machine? It depends on how frequently you use it and the types of fabrics you work with. As a general rule of thumb, it's a good idea to clean your machine after every major project, or at least once a month if you sew regularly. This will help maintain its performance and prevent any build-up of dirt and debris.
Remember, a clean sewing machine is a happy sewing machine. By maintaining a clean machine, you can avoid unnecessary repairs and ensure that your sewing machine continues to be a reliable tool for years to come. So, take the time to give your machine some TLC and enjoy the benefits of a well-maintained sewing companion.
Identifying the Parts of Your Sewing Machine
Before diving into the cleaning process, it's important to familiarize yourself with the different parts of your sewing machine that require attention.
When it comes to sewing machines, understanding the various components is crucial for proper maintenance and optimal performance. Let's explore some key parts that you should be aware of:
The Bobbin Area and Its Role in Sewing
The bobbin area is where the lower thread is stored and fed to create the bottom stitches. It consists of the bobbin case, bobbin hook, and tension spring. These components work together harmoniously to ensure smooth and precise stitching.
The bobbin case holds the bobbin and regulates the thread tension. It's important to keep this area clean to prevent any build-up that can hinder the performance of your machine. Regular cleaning of the bobbin area ensures smooth thread flow and reduces the risk of thread jams or tangles.
Additionally, the bobbin hook plays a crucial role in forming the stitches. It catches the upper thread and intertwines it with the lower thread from the bobbin, creating a secure and neat stitch. Proper maintenance of the bobbin hook, including regular cleaning and lubrication, is essential for smooth stitching and preventing thread breakage.
The tension spring in the bobbin area controls the tension of the lower thread. It ensures that the thread is neither too loose nor too tight, resulting in balanced and uniform stitches. Cleaning this part of the machine helps maintain consistent tension and prevents any issues that may arise from debris or lint accumulation.
The Importance of the Feed Dogs
The feed dogs are the metal teeth located in the needle plate under the presser foot. These small but mighty components play a crucial role in the sewing process. They move the fabric forward during stitching, allowing for smooth and even feeding.
Proper maintenance of the feed dogs is essential to ensure optimal performance. Over time, lint, dust, and fabric fibers can accumulate between the teeth, leading to uneven fabric feeding or even fabric getting stuck. Regular cleaning of the feed dogs helps prevent these issues, ensuring that your fabric moves smoothly through the machine and that your stitches are consistent and precise.
The Function of the Tension Discs
The tension discs control the tension of the upper thread as it moves through the machine. They play a crucial role in achieving balanced stitches and preventing thread breakage or looping.
Over time, lint, dust, and residual thread can accumulate in the tension discs, affecting their performance. Cleaning the tension discs regularly is essential to maintain proper tension settings and prevent stitch irregularities. By removing any lint or debris, you can ensure that the upper thread flows smoothly through the tension discs, resulting in well-balanced stitches.
Now that you have a more profound understanding of the different parts of your sewing machine, you can proceed with confidence to clean and maintain each component effectively. Remember, regular maintenance is key to keeping your machine in optimal condition and ensuring beautiful and precise stitches for all your sewing projects.
Gathering the Necessary Cleaning Supplies
Before starting the cleaning process, gather all the necessary supplies to ensure an effective cleaning routine.
Choosing the Right Cleaning Brushes
A soft-bristled brush or a small paintbrush are essential for removing lint and dust from hard-to-reach areas of your sewing machine, such as the bobbin case, feed dogs, and tension discs. These brushes will help you gently dislodge any accumulated debris without causing damage to the delicate components.
The Role of Compressed Air in Cleaning
Compressed air can be used to blow away lint and dust from the intricate parts of your sewing machine, making the cleaning process easier and more efficient. However, it's important to use the air at a safe distance and at a low pressure to avoid damaging any sensitive components.
Selecting the Appropriate Machine Oil
Machine oil plays a crucial role in lubricating the moving parts of your sewing machine, preventing friction, and ensuring smooth operation. Choose a high-quality sewing machine oil specifically designed for your machine model. Avoid using household oils, as they can cause damage or leave residue behind.
Step-by-Step Guide to Cleaning Your Sewing Machine
Preparing Your Machine for Cleaning
Start by turning off your sewing machine and unplugging it from the power source. Remove the needle, presser foot, and any other attachments to gain better access to the different parts. Refer to your machine's manual for specific instructions on removing these components.
Cleaning the Bobbin Area
Begin by removing the bobbin case and bobbin from the machine. Use a soft brush to gently remove any lint or debris from the bobbin case, tension spring, and surrounding areas. Check the bobbin area for any hidden threads or lint and remove them carefully. Once clean, reinsert the bobbin case and bobbin securely.
Cleaning the Feed Dogs and Tension Discs
Use a small brush or compressed air to clean the feed dogs thoroughly. Make sure to remove any lint or threads that may have accumulated between the teeth. Next, clean the tension discs using a soft brush and gently remove any debris that may hinder proper tension formation. Avoid using excessive force to prevent damage to the tension discs.
Oiling Your Sewing Machine
After cleaning, it's time to lubricate your sewing machine. Follow your machine's manual to locate the recommended oiling points. Apply a small amount of machine oil to the designated areas, ensuring that you do not over oil. Use a lint-free cloth to wipe away any excess oil or spills.
By following these simple steps and establishing a regular cleaning routine, you can ensure that your sewing machine operates at its best. Remember, a clean machine produces better results and enhances your overall sewing experience. Take care of your sewing machine, and it will reward you with years of precise stitching and reliable performance.


