Cup cozies are great for the wintertime when you have a hot drink, during the summer when you have an ice-cold can of your favorite beverage or if you just want to jazz up your cup! Cups come in all different shapes and sizes, so feel free to customize your cup cozy to your cup of choice!
For your free cup cozy pattern click here.

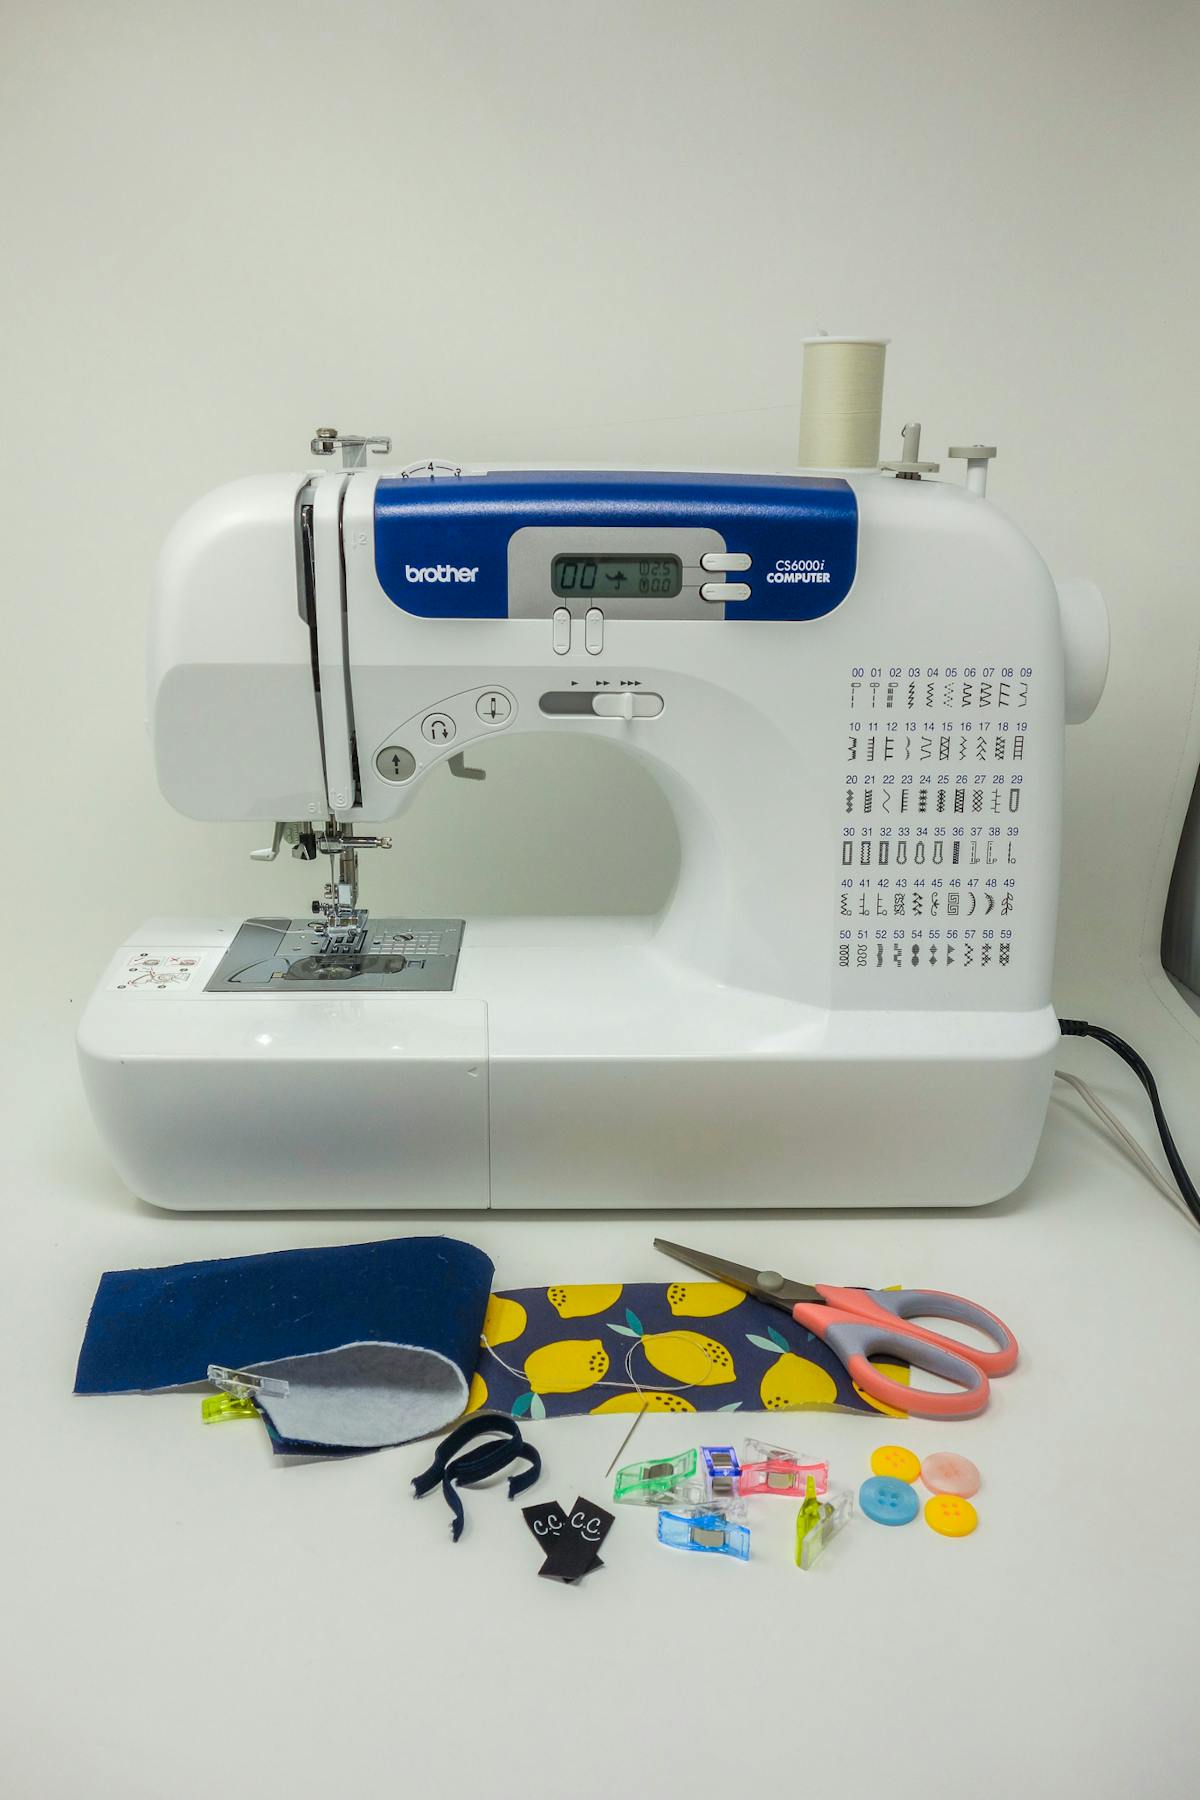
First thing first: gather your supplies.
DIY Cup Cosy Sewing Supplies:
- Fabric of your choice [I’m using 100% cotton and fusible fleece]
- Sewing Machine (ideally, but a simple needle and thread will work, too)
- Sewing pins or clips (optional)
- Scissors
- Thread and needle
- Elastic [I’m using 1/4 inch wide elastic]
- Button
- Personalized labels from Dutch Label Shop

Step 1
Cut the fabric using tour free DIY cup cozy pattern linked above or you can freestyle it! I used a printed fabric for the outside layer and a solid color fabric for the inside layer and one piece of fusible fleece interface. Take the inside layer fabric and iron the fusible fleece interface together, this will create a sturdier cup cozy, but you can double up on fabric or leave it as is if you don’t have fusible fleece, batting, or some type of interface. Place the right sides together and pin or clip into place.

Step 2
Take the elastic (roughly 2 inches) and fold in half. You can add a longer elastic for a bigger cup. Place the elastic between the inside and outside layer with the raw ends sticking out.

Step 3
Top stitch the fabrics together using a ¼” seam allowance and leave a 1 inch seam gap at the bottom. This will allow you to turn the fabric right side out later. Backstitch the stitching at the beginning and end of the seam and at the elastic to prevent the stitching from coming apart.

Step 4
Clip the curves and corners. Turn the cup cosy right side out using the 1” seam gap. Take a pointed object (e.g. pen, marker, scissors, chopsticks) to push out all four corners.

Step 5
Top stitch the entire edge, keeping the stitching an even distance from the edges.

Step 6
Find a location to add your personalized label from DLS!

Step 7
Hand sew a button on the opposite end of the elastic using a needle and thread and make sure to cut any remaining loose threads.

And that's it! Congratulations! You just made your own cup cozy! We also have a step-by-step custom cup cozy creation video guide on how to make a cup cozy, if you want to follow along.
Let us know what you think and share your photos of your own cup cozy with us on Instagram, Facebook, or Twitter.


