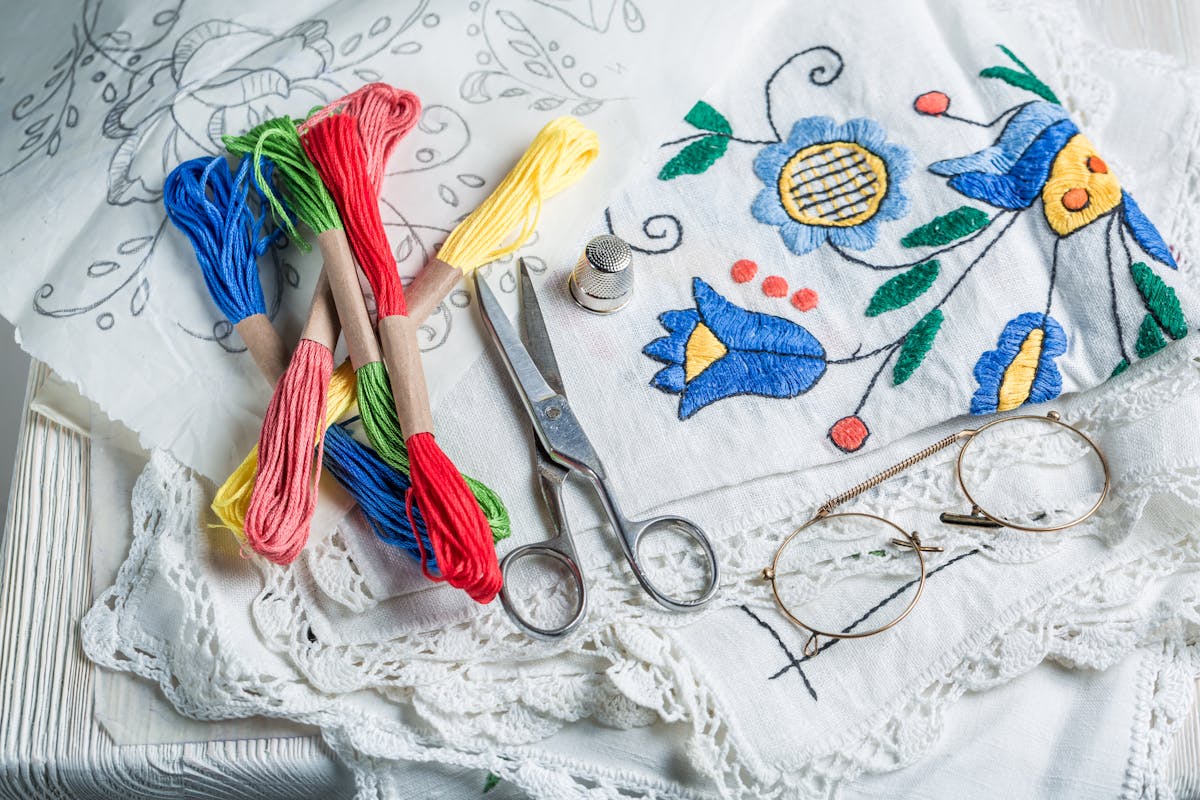
Embroidery is a beautiful and intricate craft that allows you to add a personal touch to your clothing. Whether you're a beginner or experienced sewist, learning how to embroider clothing by hand is a rewarding and enjoyable endeavor. In this article, we will guide you through the process of understanding the basics, preparing your fabric, mastering embroidery techniques, and embroidering different types of clothing.

Understanding the Basics of Embroidery
Embroidery, a timeless art form, has captivated people's imagination for centuries. Its rich history and evolution can be traced back to ancient civilizations, where it was practiced as a form of self-expression and cultural identity. From the delicate threads of the past to the intricate designs of the present, embroidery has truly stood the test of time.
Embroidery stitches, the building blocks of this art form, are as diverse as the cultures that have embraced them. Each stitch holds its own unique charm and purpose, allowing artisans to create breathtaking designs. The backstitch, for example, is a versatile stitch that provides structure and definition to the embroidery. On the other hand, the satin stitch creates a smooth and lustrous surface, perfect for filling in larger areas with vibrant colors. And let's not forget the whimsical French knot, which adds a touch of elegance and texture to any embroidery piece.
Essential Embroidery Tools
Embarking on your embroidery journey requires a set of essential tools. The trusty embroidery hoop, a circular frame that holds the fabric taut, is a must-have for any embroiderer. It keeps the fabric in place and ensures even tension, resulting in neat and precise stitches. Needles, available in various sizes, allow you to navigate through different fabric weights and stitch intricacies. And of course, the embroidery floss or thread, available in a rainbow of colors, breathes life into your designs. To mark your fabric with precision, fabric marking tools such as water-soluble pens or chalks are indispensable.
Embroidery Techniques
As you delve deeper into the world of embroidery, you'll discover a myriad of techniques and styles. From traditional hand embroidery to modern machine embroidery, the possibilities are endless. You may find yourself drawn to the intricate beauty of cross-stitch, where tiny X-shaped stitches come together to form intricate patterns. Or perhaps you'll be captivated by the art of goldwork embroidery, which uses metallic threads to create opulent designs fit for royalty.
Embroidery is not only a craft but also a form of self-expression. It allows you to tell stories, preserve traditions, and create heirlooms that can be cherished for generations. So, whether you're a beginner or an experienced embroiderer, embrace the art form, explore its vast possibilities, and let your creativity soar.

Preparing Your Fabric for Embroidery
Thoroughly preparing your fabric is crucial for successful embroidery. The first step is selecting the right fabric. Choose a fabric that has a tight weave, such as cotton or linen, as this will provide a sturdy base for your embroidery. Avoid fabrics that are too stretchy or prone to fraying, as they may not hold the stitches well.
When selecting the fabric for your embroidery project, consider the color and texture as well. The color of the fabric can complement or contrast with the embroidery thread, enhancing the overall design. Additionally, the texture of the fabric can add depth and dimension to your embroidery, creating a visually appealing piece.
Prep and Hoop Your Fabric
Once you have selected your fabric, it's important to prep and hoop it correctly. Begin by washing and ironing the fabric to remove any creases or dirt. This will ensure a smooth surface for your embroidery. Take your time to carefully iron the fabric, paying attention to the corners and edges, as these areas are often overlooked but can affect the final result of your embroidery.
After washing and ironing, it's time to hoop the fabric. Place the fabric in the embroidery hoop, making sure it is taut but not overstretched. The fabric should be evenly tensioned across the hoop to prevent any distortion or puckering during the embroidery process. Adjust the fabric as needed, ensuring that it is centered within the hoop.
Securing the fabric in place is crucial to maintain the tension throughout the embroidery process. Tighten the hoop by turning the screw or lever, making sure the fabric remains taut. Avoid over-tightening the hoop, as this can distort the fabric and affect the overall appearance of your embroidery. It's important to find the right balance between tension and flexibility.
Once your fabric is properly hooped, you are ready to begin your embroidery project. Take a moment to admire the smooth and wrinkle-free surface of your fabric, knowing that the proper preparation will contribute to the success of your embroidery. With the correct fabric and careful preparation, you are well on your way to creating a beautiful and professional-looking embroidery piece.

Mastering the Embroidery Techniques
Embroidery is a beautiful and intricate art form that allows you to create stunning designs on fabric. Whether you're a beginner or an experienced enthusiast, mastering the embroidery techniques is essential to create professional-looking pieces. While threading the needle correctly is a basic skill, there are many more aspects to consider taking your embroidery to the next level.
Threading the needle correctly is just the first step in the embroidery process. Once you have cut a length of embroidery floss or thread, approximately 18 inches (ca. 46 cm) long, you need to ensure that it is securely threaded through the eye of the needle. This can be a delicate task, especially if the needle has a small eye. Take your time and be patient, as a well-threaded needle will make your stitching experience much smoother.
Stitching Your Fabric
Now that your needle is threaded, it's time to start your stitch. The first stitch is crucial, as it sets the foundation for your design. To begin, insert the needle from the back of the fabric to the front, precisely at the starting point of your design. Make sure to pull the thread through, leaving a short tail at the back. This tail will be secured later to prevent your stitches from unraveling.
As you continue stitching, it is essential to pay attention to the spacing and pattern of each stitch. Evenly spaced stitches will give your design a polished and professional look. If you're working on a complex design, it may be helpful to mark the fabric with a temporary fabric pen or pencil to ensure that your stitches follow the desired pattern accurately.
When finishing your stitch, it's crucial to secure the thread at the back of the fabric. This can be done by tying a small knot or by weaving the thread through previous stitches. By securing the thread, you ensure that your hard work will not come undone over time. Take care not to pull the thread too tightly, as it may distort the fabric or create tension in your design.
While the basic stitches such as the running stitch, backstitch, and satin stitch are essential to learn, there is a whole world of embroidery stitches waiting to be discovered. These stitches can add texture, depth, and complexity to your designs. As you gain confidence in your embroidery skills, challenge yourself by trying more complex stitches such as the French knot, chain stitch, or feather-stitch.
Exploring different embroidery techniques can also elevate your work to new heights. For example, you can experiment with different thread weights, colors, and textures to create unique effects. Additionally, incorporating beads, sequins, or other embellishments can add sparkle and dimension to your embroidery.
Remember, mastering embroidery techniques takes time and practice. Don't be afraid to make mistakes and learn from them. Each stitch you make brings you closer to becoming a master of embroidery. So, grab your needle, thread, and fabric, and let your creativity soar!
Embroidering Different Types of Clothing
Now that you have mastered the embroidery techniques, it's time to put your skills to work on different types of clothing. Embroidering shirts and tops can add a unique and personalized touch to your wardrobe. Choose a design that complements the fabric and stitch it onto the garment using your preferred embroidery stitch.
Adding embroidery to jeans and pants is another creative way to elevate your style. Whether it's a small-embroidered motif near the pocket or a larger design running down the leg, embroidery can transform plain denim into a fashion statement. Don't be afraid to experiment with different colors and thread thicknesses to create eye-catching designs.
If you have a favorite dress or skirt, consider embellishing it with embroidery. Embroidered flowers, patterns, clothing labels, or even delicate lace-like designs can instantly elevate the look of your garment. You can embroider directly onto the fabric or create patches that can be sewn onto the clothing.
Embroidering clothing by hand is a fulfilling and creative way to express yourself. By understanding the basics of embroidery, preparing your fabric correctly, mastering embroidery techniques, and exploring different types of clothing, you can create unique and personalized pieces that showcase your skill and creativity. So pick up your needles, thread your floss, and let your imagination take flight as you embark on this wonderful journey of hand embroidery. Do you want to learn more about embroidery and weaving? Read our article about The Differences Between Embroidery And Weaving.


