How to apply iron-on labels?
When applying an iron-on label to an item there are a few easy steps you need to follow.
First, you'll want to check the heat tolerance of the fabric you're attaching your label to; an easy way to know is by checking the care label of your item to see if it allows for ironing. Next, set your iron to the "cotton" setting; DO NOT SET YOUR IRON TO STEAM. After that you'll want to place your iron-on label in the desired location, then cover with a piece of parchment paper.
Once you have your label where you want it and covered with parchment paper, carefully iron over your parchment paper for 15-20 seconds. You will want to move your iron in a slow movement, and wait at least 2 minutes before you remove the parchment paper.
And that's it! You now have an iron-on label!
If you do better with visuals, check out our step-by-step iron-on label guide below.
Step 1: Check Fabric Heat Tolerance
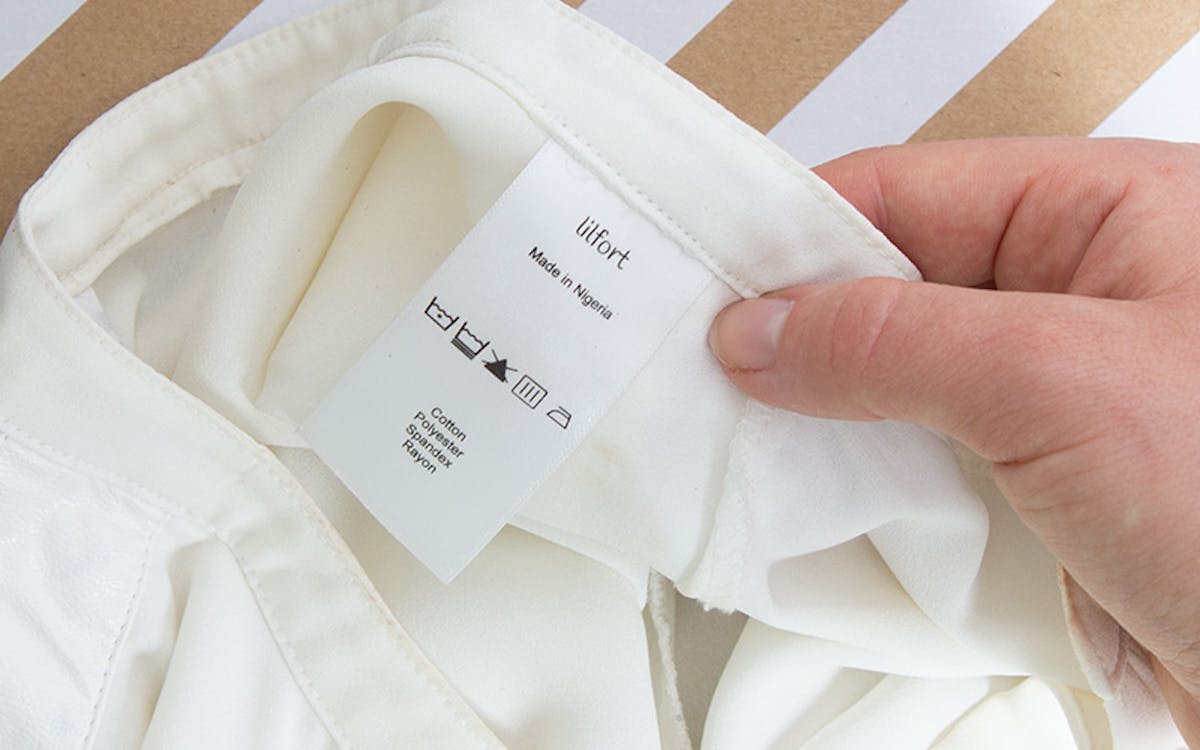
Remember to always check if the fabric type you are going to iron the label to can tolerate the heat of an iron. You can check online or with the supplier of your fabric.
Step 2: Set Iron to "Cotton" Setting
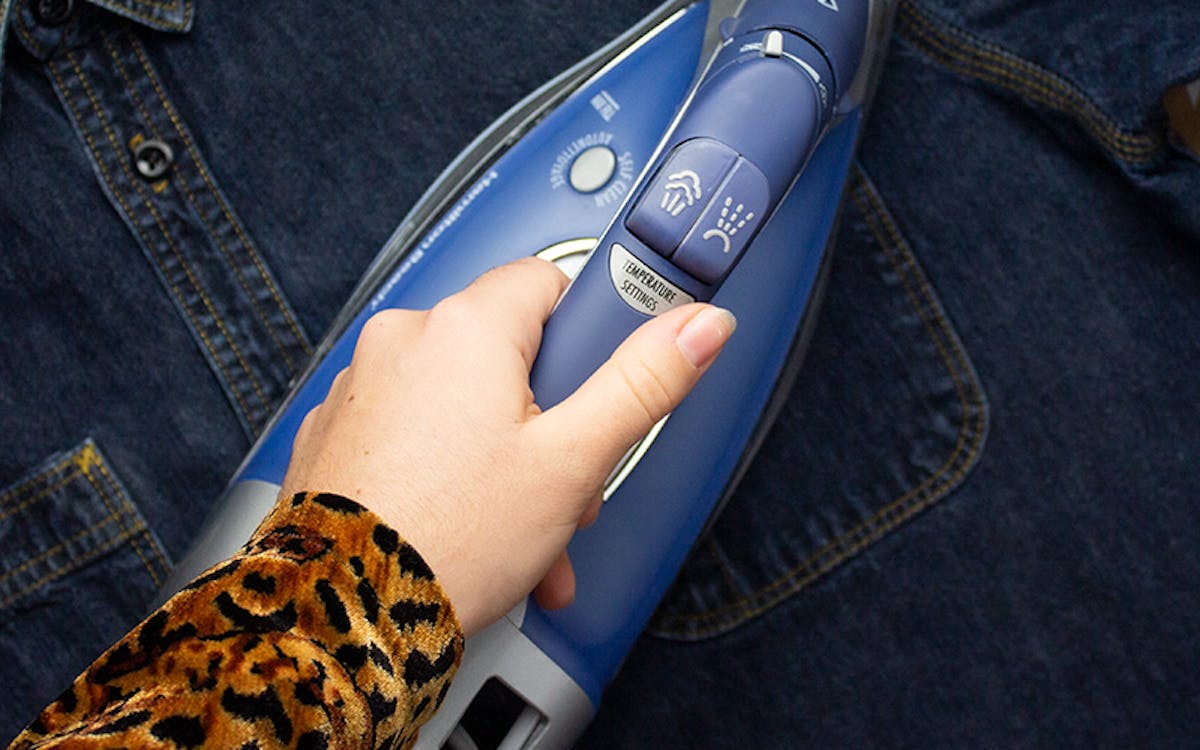
Set your iron to the cotton setting - DO NOT USE STEAM
Step 3: Place Label & Cover with Parchment Paper
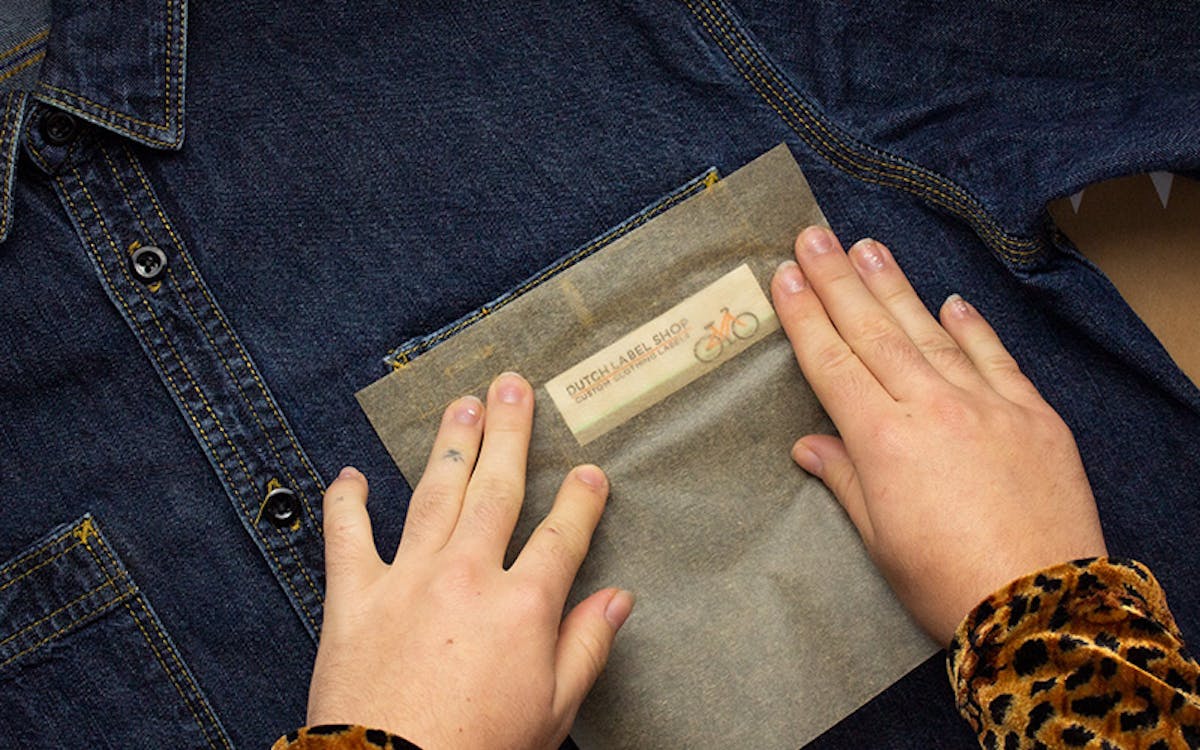
Position the iron-on label where you want to adhere it and cover the label with baking/parchment paper. Do not use wax paper.
Step 4: Iron Label for 15-20 Seconds
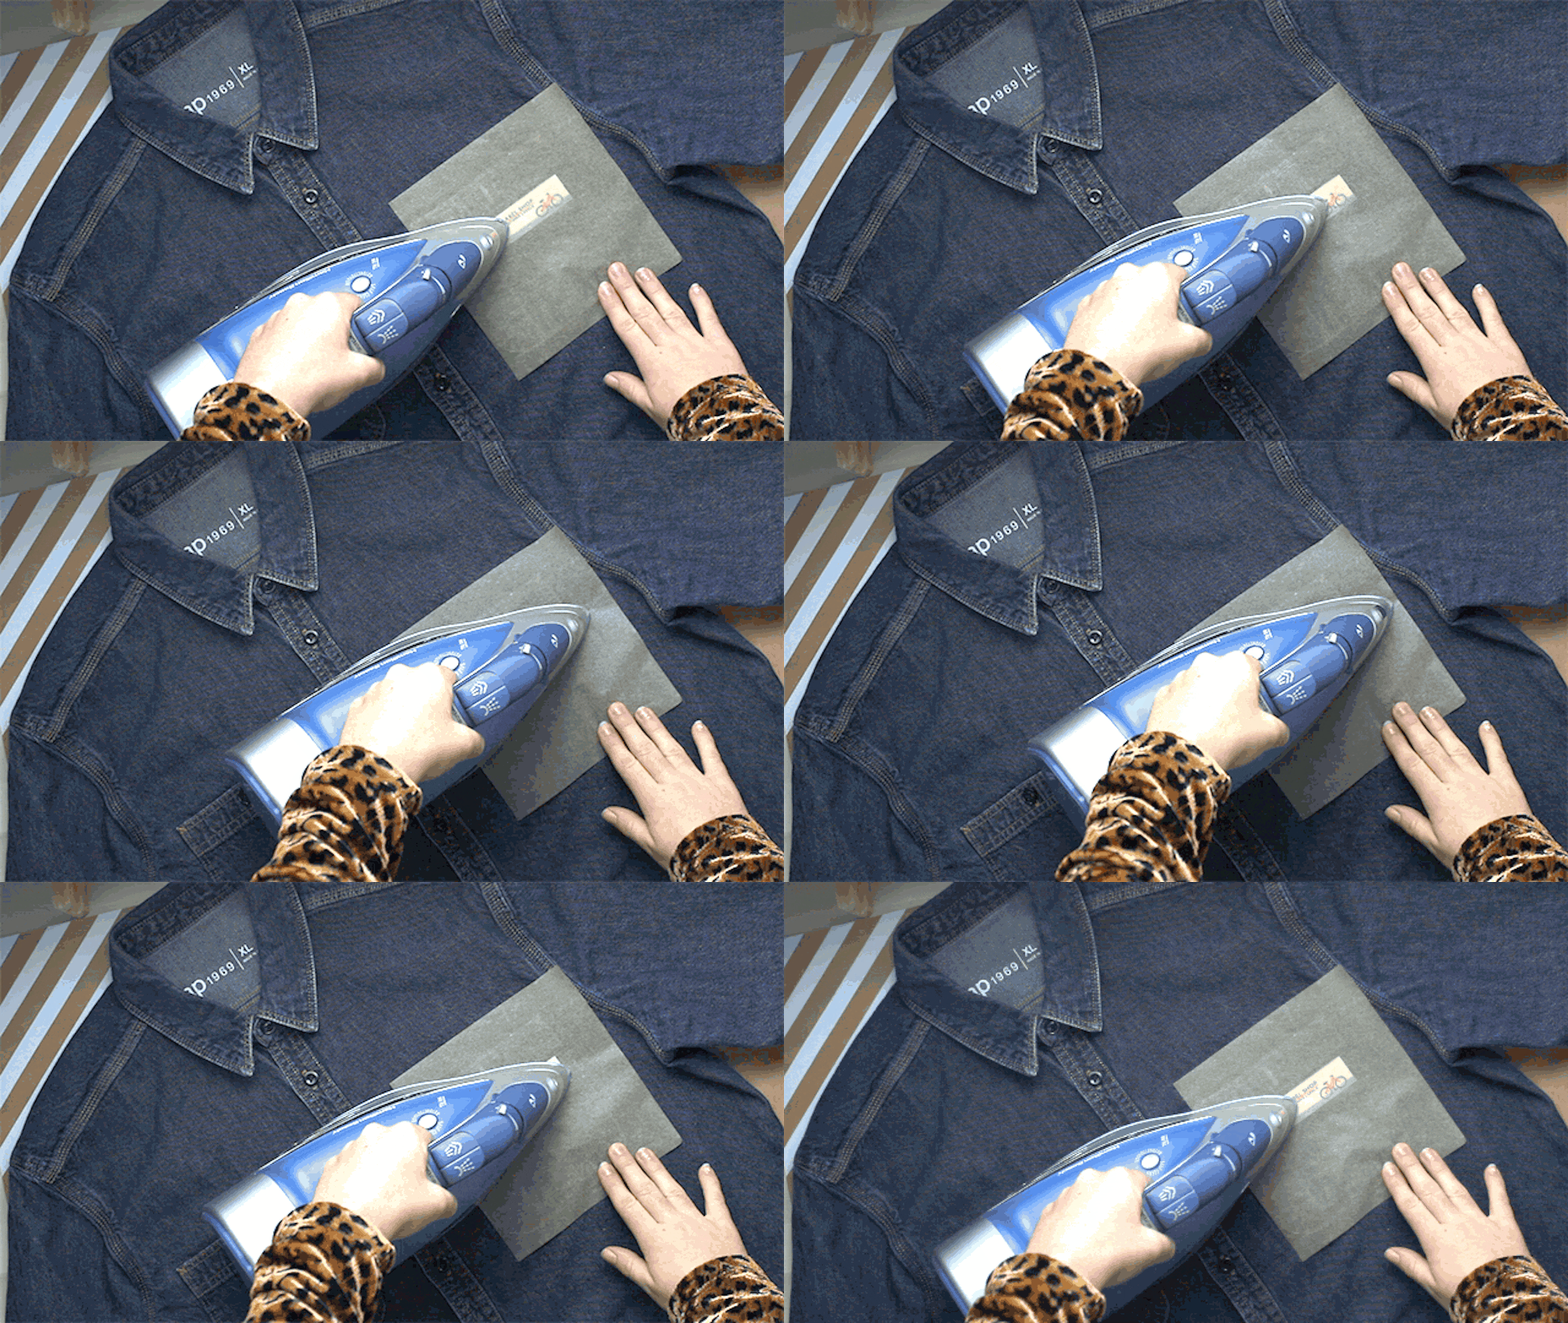
Carefully iron over the baking paper for about 15-20 sec. Move your iron slowly. Wait approximately 2 minutes before you remove the baking paper.
You Are Done!
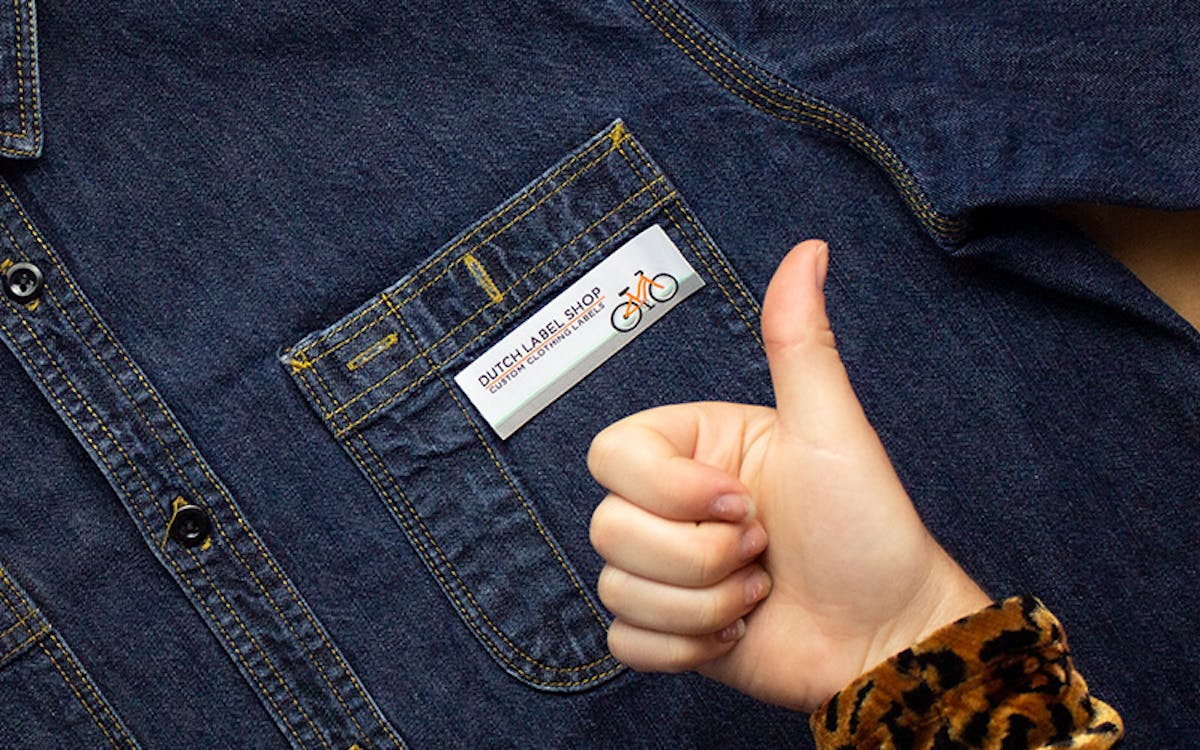
Your label is now ready!
Further notes:
- The strength of the adhesive layer is also dependent on the type of fabric you are adhering it to.
- If your iron is not hot enough, it is possible for the adhesive to separate from the label when you try to iron it on. If this happens, increase the heat of your iron, push the label down on the adhesive, and try ironing on the back of the item where the label is placed to re-adhere it.
Washing Instructions:
To maintain the longevity of your iron-on labels, please follow the standards listed below when washing items with an iron-on label attached.
- Do not dry clean
- Do not tumble dry
- Do not use chlorine bleach
- Cold wash cycles only
- Wait 24 hours after adding the label before your first wash.
If you ever want to replace this newly attached label, or just remove it entirely, we've written up instructions on how to remove iron-on labels. Looking for woven labels? Find our products here.


